Beyond the rectangle: How to design a statement kitchen island
Kitchen islands are now such an established part of modern kitchen design that planning one can easily become a numbers exercise. Measure the available space, allow comfortable circulation around the perimeter and, almost by default, you arrive at the largest rectangle the room will take. That may be exactly what works best, but size and footprint are only part of the story. Curves, changes in level, extended dining sections, sculpted edges and shifts in material can all give an island more character and purpose.
For our designers, that means starting with the architecture rather than a predetermined shape. Proportion, circulation, sightlines, adjoining spaces and even the direction of the best view can all influence what the island becomes. In truly bespoke kitchens, the answer might be a softened curve, an L-shape, a change in height or several distinct elements brought together in one piece. The aim is never novelty for novelty’s sake, but an island that feels entirely at home in the room. Here’s how to think outside the box and give your island a little more shape.
1. Design the negative space
One of the most useful ways to plan the perfect kitchen island is to think beyond a standard clearance figure and consider how the space around it will actually be used. Where will somebody stand when the dishwasher is open? Can another person pass behind them? Which route will children take through the room? Where is the best view when you sit down?
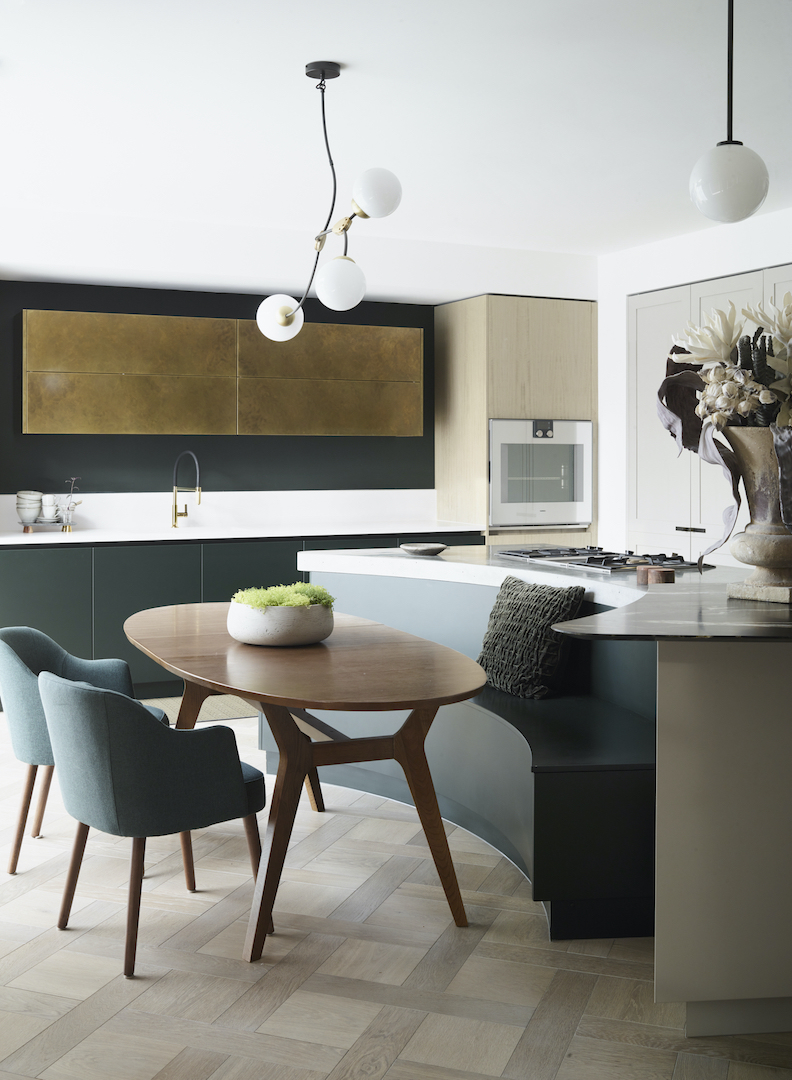
A single recommended distance between island and cabinetry cannot answer all of those questions. Circulation, appliance doors, seating, adjacent furniture and the number of people likely to use the kitchen at once all influence the shape as much as the size. The island in our Fairgreen project shows this particularly well. Its cabinetry curves around an oval table and banquette rather than treating island, dining table and seating as three separate elements. The curve opens up a more natural route through the room while allowing the dining area to sit neatly within the kitchen footprint.
2. Use proportion before decoration
While there’s no denying the impact of a vast island, sheer scale alone isn’t what makes one memorable. In fact, increasing size can quickly become counterproductive. Very deep islands create unreachable areas in the centre, while excessive length can turn a useful shortcut through a kitchen into an annoying detour. There are cost implications too, not least when it comes to sourcing a worktop large enough to avoid multiple joins.
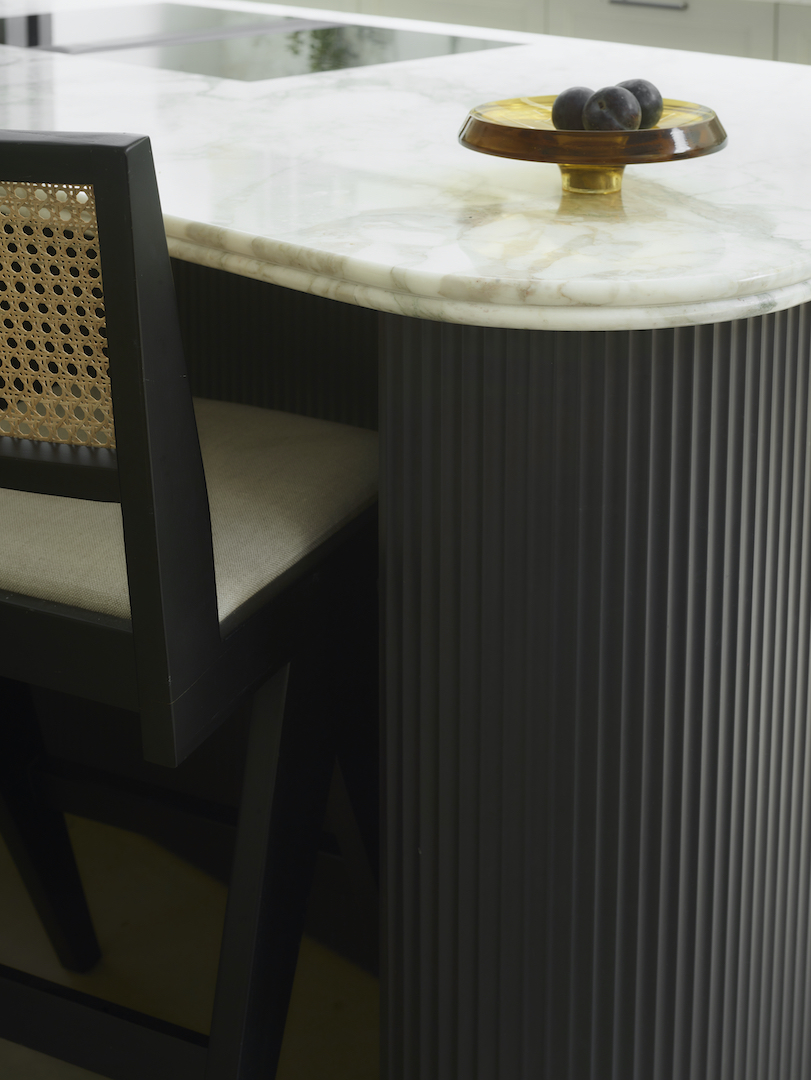
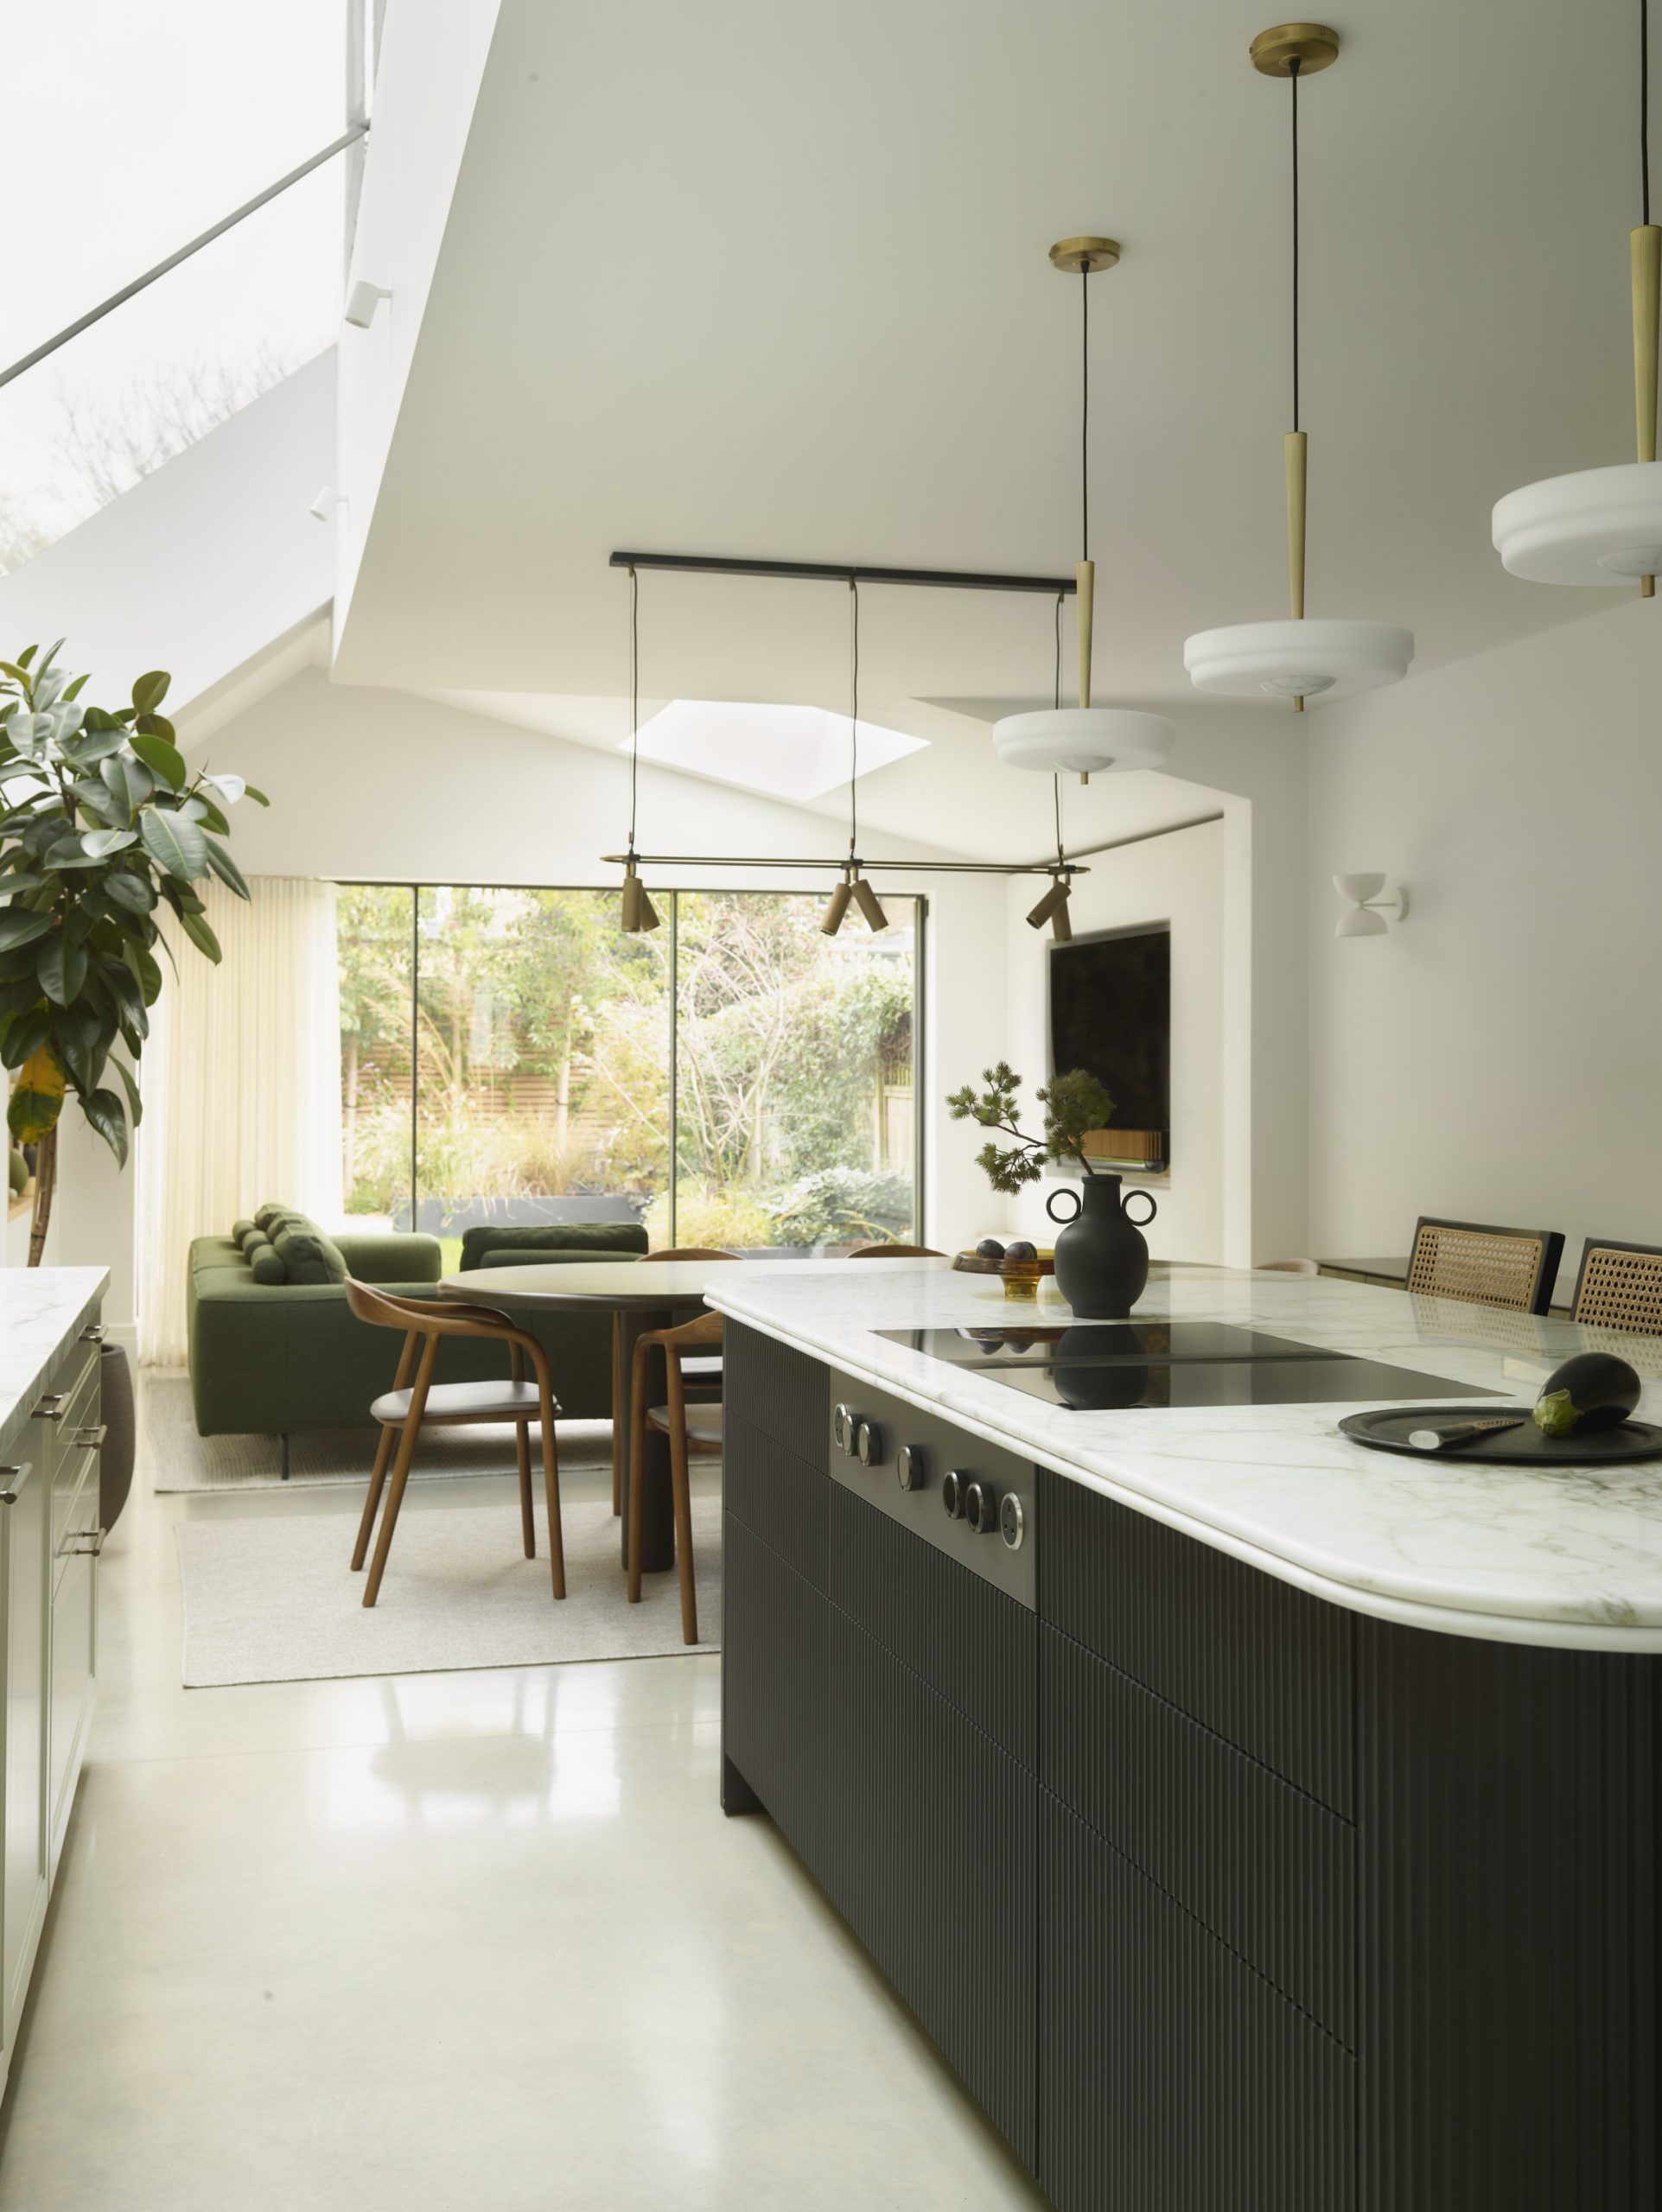
The island in our Alden project is a good lesson in making more of a relatively modest footprint. The rounded end, close fluting and double bullnose stone edge give the island far more character than its dimensions alone would suggest. The edge profile is especially important. Changing the apparent thickness of kitchen worktops can alter the visual weight of an island dramatically, without adding another material or colour.
This is also why curves need to be designed rather than simply applied to the end of a rectangular cabinet. The radius affects circulation, usable storage inside and how convincingly the worktop and cabinetry meet.
3. Think in layers, not finishes
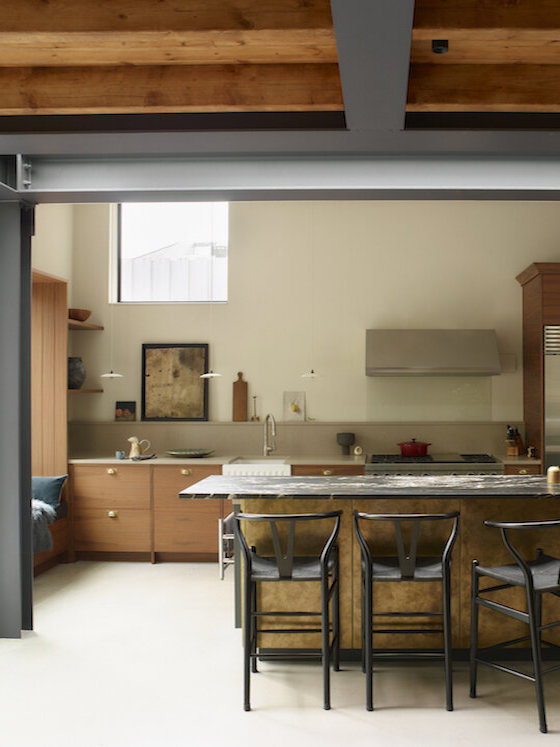
The strongest material schemes often rely on changes in depth and plane rather than a long shopping list of finishes. Stone might form a slim working surface in one area, become much thicker elsewhere or drop vertically to conceal the cabinetry below. Timber can sit within rather than simply beside it. Metal finishes can be recessed so it catches the light without dominating the composition.
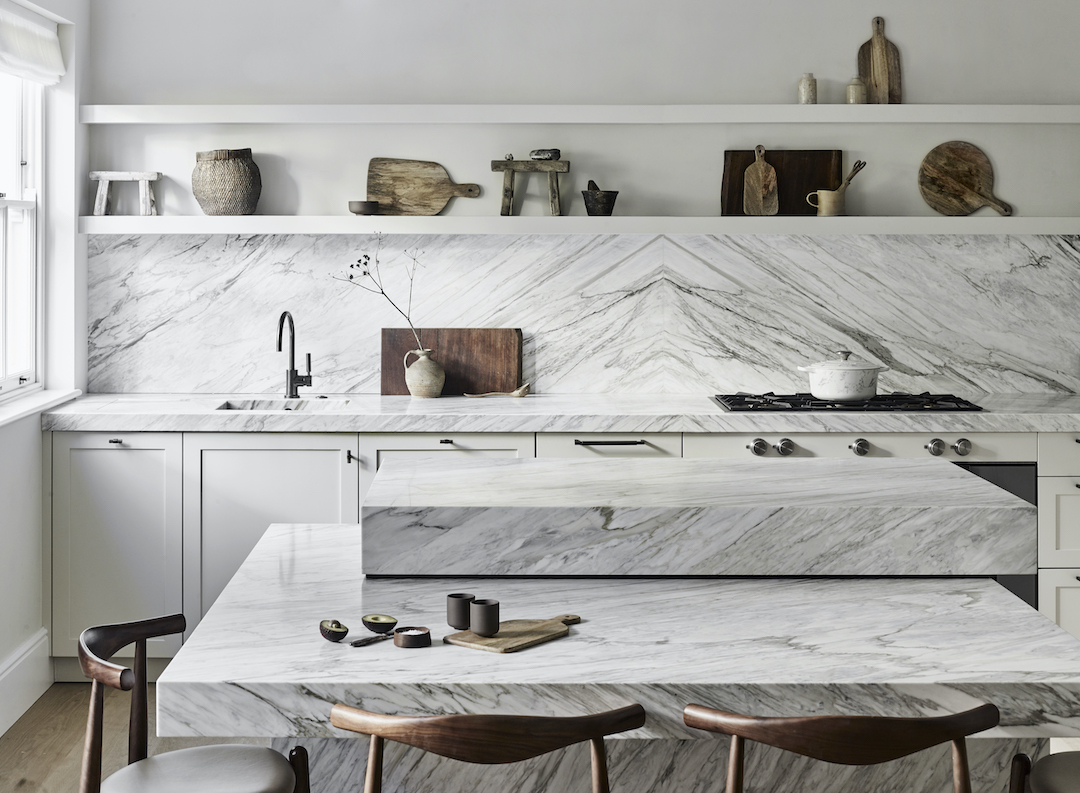
On our Sondergaard island, the stone does far more than provide a surface. Stacked and wrapped around the cabinetry, it creates a series of strong horizontal planes that make the island feel sculptural while still defining practical working and seating areas.
Metal-wrapped cabinetry has become a signature of Roundhouse design, an approach we have pioneered to bring an entirely different dimension to the kitchen island. In our award-winning Moony project in Belsize Park, signature Antique Brass feature doors bring warmth to the island, contrasting with bookmatched walnut veneer and dramatic African Fusion quartzite. Left unlacquered, the brass is designed to naturally patina over time, allowing the finish to evolve and develop its own character and charm as the kitchen is lived in.
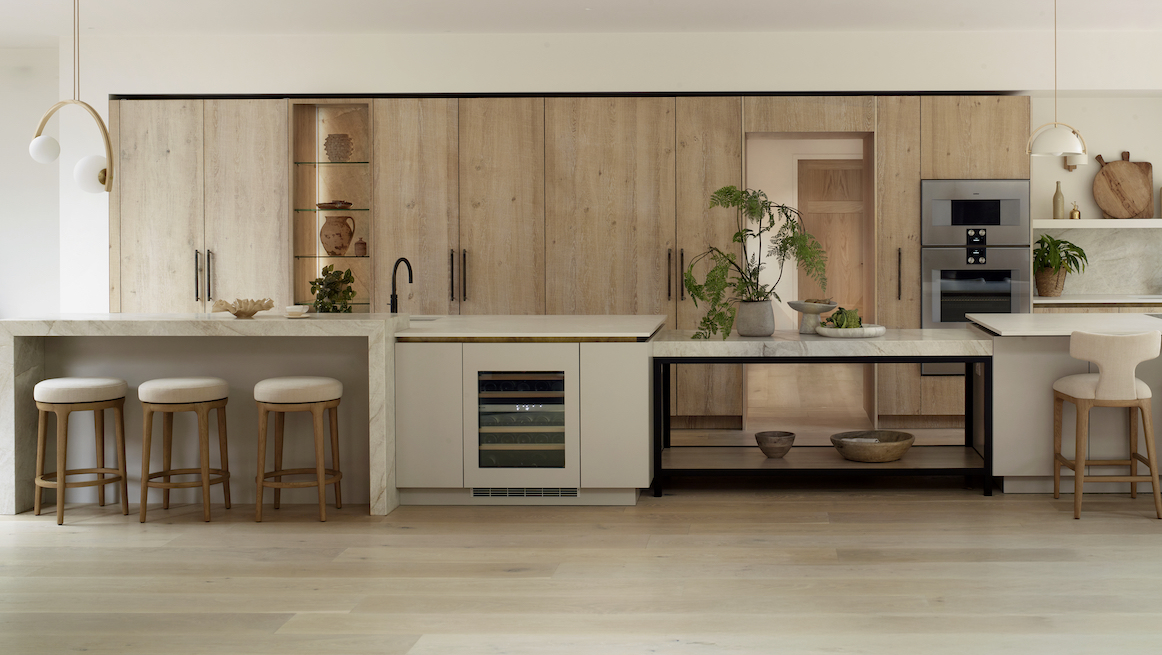
The elongated island in our Ashbury project takes an even more layered approach. There are brass shadowlines, an elevated stone breakfast bar, an open central section, sink, wine fridge and additional seating around the hob. That could easily become visually chaotic. Keeping the cabinetry and stone within a restrained palette of cashmere tones and warm metallics is what allows the changes in level and detail to register without competing with one another.
4. Give seating its own geometry
Moving beyond the rectangle does not have to mean going completely off-piste with mad shapes, twists and turns. Sometimes it is simply about letting one function change direction. Seating is a good example. Rather than extending the worktop and tucking three stools underneath, think about how people will actually sit, talk and eat together. Shoulder-to-shoulder works well for a quick breakfast or coffee, but for longer meals and conversation, facing one another – or turning towards a view – can make far more sense.
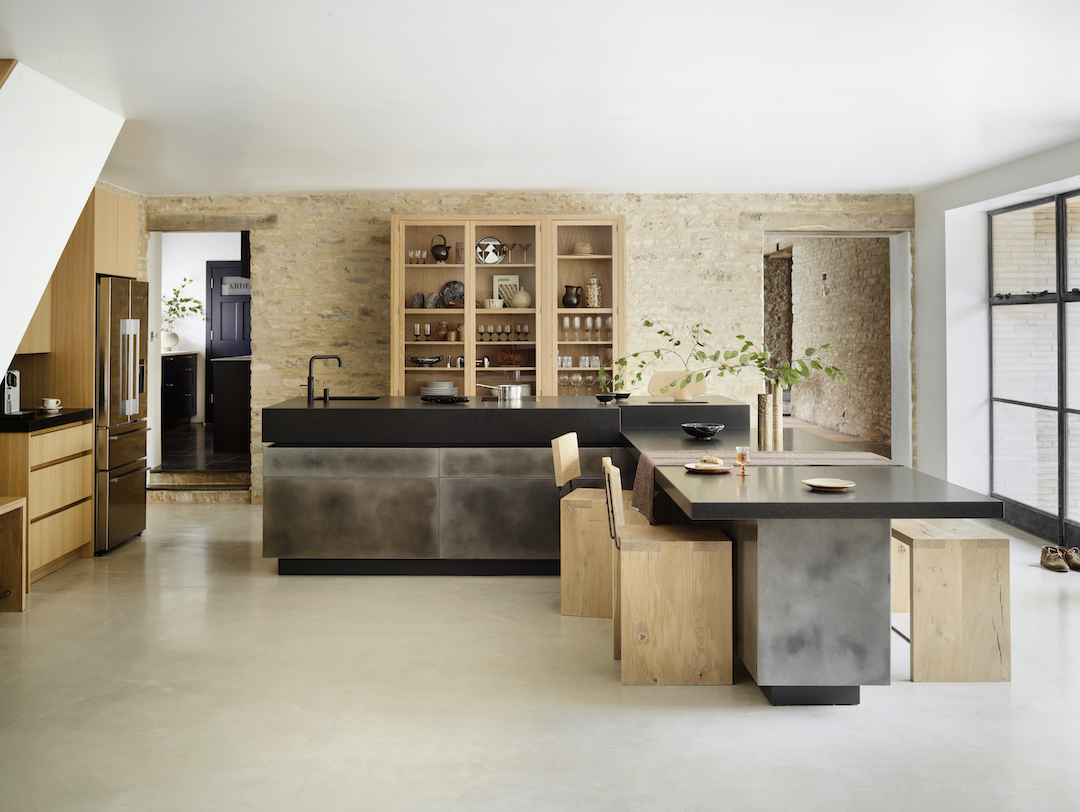
In our Hardings project, that thinking changed the island completely. A dining table projects at 90 degrees from the main working section, creating generous legroom and orientating diners towards the garden from one side. The change in level reinforces the distinction between cooking and eating, while the L-shaped plan keeps the two functions closely connected.
A lower dining table, raised bar, perpendicular seating area or banquette can all alter the outline of an island while making it more comfortable to use. These decisions need to happen early, though. Because seating affects everything from overhangs and support to service routes and knee space, it needs to be planned as part of the island from the outset.
5. Decide where the eye should land
Perhaps the hardest part of designing a statement island is knowing when it has enough going on. If the stone is highly figured, the cabinetry shape may need to be simpler. If the silhouette is complex, introducing several contrasting finishes as well can dilute the idea.
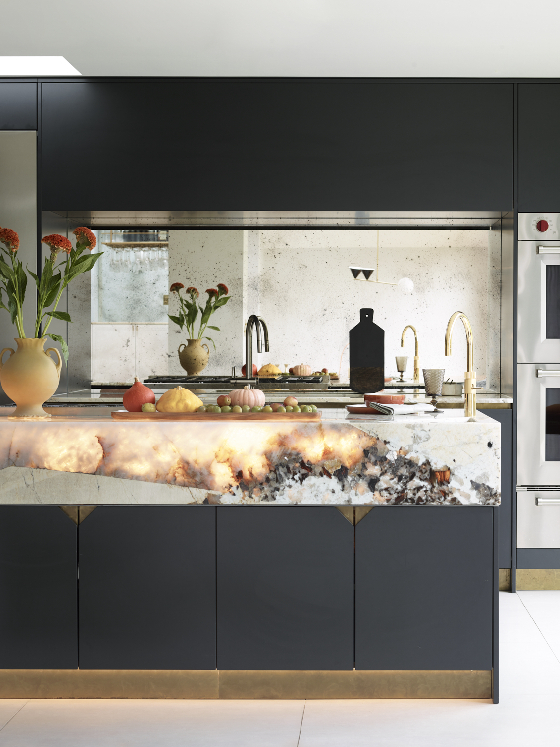
The island in our Avenue project deliberately goes the other way, but with control. Designed with Zoe Murphy from Stealth Design, the backlit onyx makes the stone itself a source of light, while the raised bar introduces another plane and triangular motifs repeat across smaller details including the handles and sink. Those repetitions are important because they make individual features feel connected rather than collected.
This is where Roundhouse’s bespoke factory gives us real freedom. Our designers can adjust an island by centimetres, change its direction, develop asymmetric forms or combine cabinetry, stone, timber and metal without being dictated by standard unit sizes. Our craftspeople then turn those ideas into beautifully executed three-dimensional forms, creating statement islands with real visual impact that also improve the way the kitchen works.
Visit your nearest Roundhouse showroom to see our kitchens in person, explore the possibilities and chat with our designers about creating an island that really suits your space.
FREQUENTLY ASKED QUESTIONS:
HOW TO DESIGN A STATEMENT KITCHEN ISLAND
The best kitchen island shape is the one that suits the room’s proportions, circulation and the way you plan to use it. A rectangular island works brilliantly in many kitchens, but L-shaped, curved, asymmetric and split-level designs can make better use of particular spaces. At Roundhouse, we look at sightlines, seating, appliance positions and traffic flow before determining the shape, rather than starting with a standard footprint.
Yes, curved kitchen islands can be extremely practical when the curve has a purpose. Rounded corners can improve circulation, soften tight routes through a kitchen and make seating feel more sociable, while also giving the island a more furniture-like quality. The radius needs careful planning, however, as it will affect internal storage, worktop fabrication and how efficiently the cabinetry can be used.
Around 1m of clear space is a useful starting point for most kitchen islands, but the right clearance depends on what happens on each side. Areas with opposing cabinets, appliance doors, stools or heavy foot traffic may need more room, while quieter sides can sometimes work with less. Rather than applying one measurement all the way around, our designers consider doors, drawers, seating and circulation together.
No, a kitchen island does not have to match the surrounding cabinetry. Keeping the same finish can create a calm, cohesive scheme, while contrasting timber, colour, stone or metal can give the island greater definition. Often the most successful approach is to create a connection, or overall dialogue, rather than an exact match, perhaps by repeating a worktop material, handle finish or colour elsewhere in the kitchen.
A luxury kitchen island is less about size and more about proportion, materials and considered detailing. Bespoke kitchen design allows the island to be tailored to the architecture and how you live, from statement stone worktops and curved cabinetry to integrated seating, contrasting materials and handcrafted details. The most successful designs balance visual impact with functionality, creating a kitchen island that feels distinctive while entirely at home in the space.